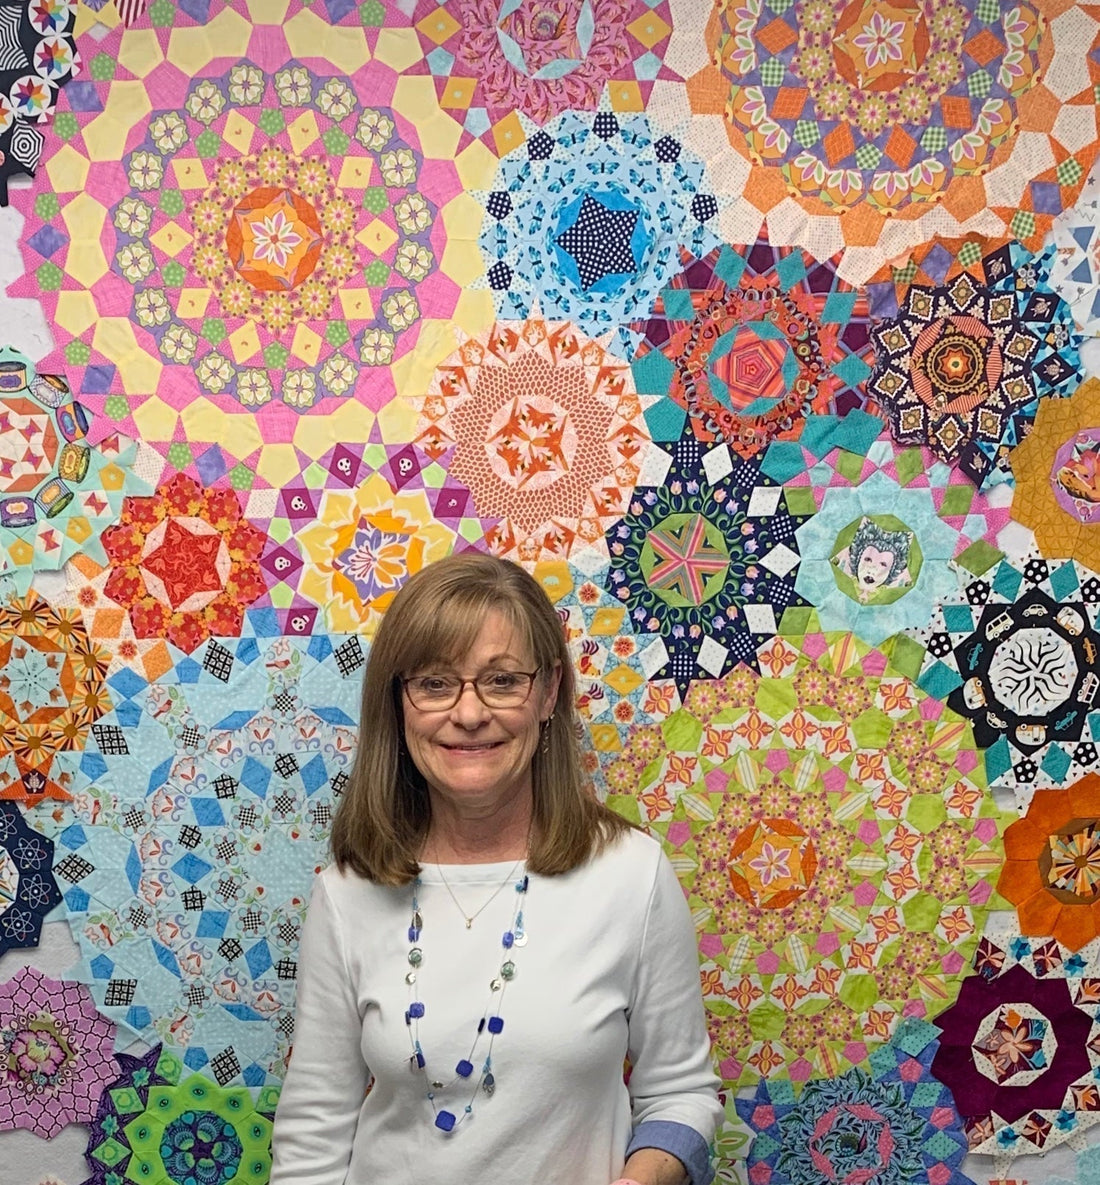
Quilting Studio Tour
Share
Welcome to where I create. Join me for the tour.
In the background are IKEA wall organizers, helping to keep things off table tops. You can accessorize the wall organizer with different type holders.
I am standing behind my sewing machine. The bookcase behind me is in easy reach of my sewing machine. It contains thread and sewing supplies.
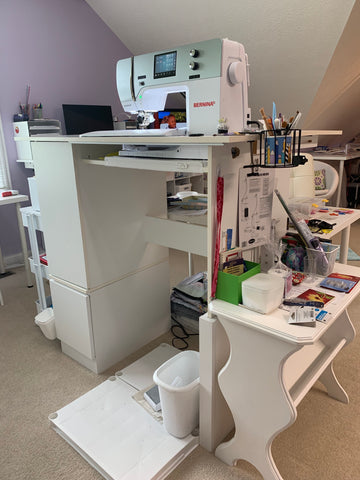
This is my sewing machine table, I had customized so I can stand up and sew.
You will see my Stand Up desk as we work our way around the room.
The desk got me thinking about standing up to sew.
When I thought up this idea I was not positive of the exact height, so I estimated. My estimate was 2" off, the reason for the white rectangles on the floor. I now have the formula. Hopefully I will not offend anyone sharing it. Wearing your bra, measure from floor to nipples. That is the height you want the table top to be. I can't think of any other way to describe the formula and account for all different heights.
The little table on the side was built by my Dad. I just like having it there.
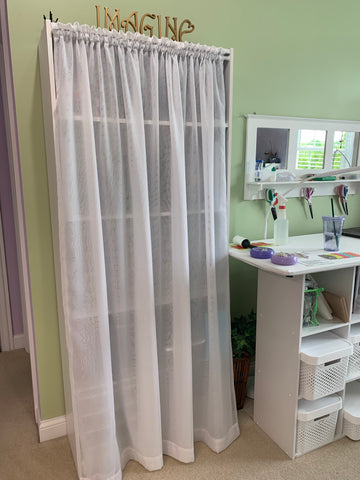
This is an inexpensive bookcase. I hung a double layer of sheers for a more finished look.
There are so many things on the shelves I felt it was crowding the space.
I am considering replacing this book shelve and the one on the other side with an IKEA unit with doors.

See why I added the sheers.
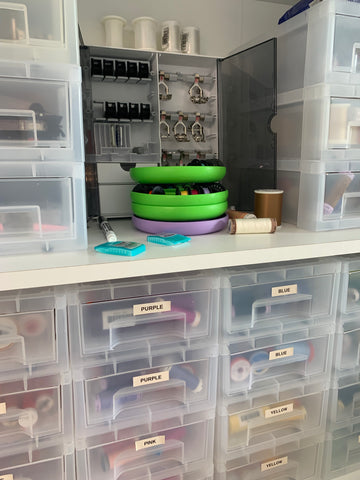
This is my favorite way to store thread, out of the light and organized by color. Pull out a drawer and see what shade will be the best match. Bobbins are stored in the green and purple rings. Sewing machine feet and extra bobbins are easy to reach.
Yes, I do have a thing for my label maker. It certainly saves time looking for things.
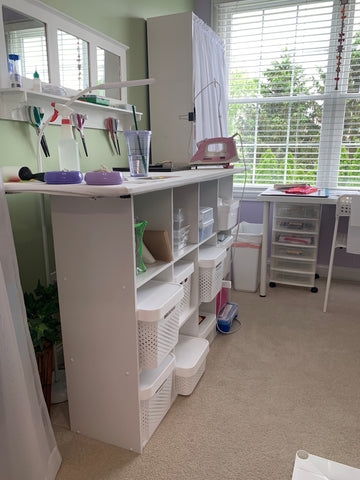
This is the ironing center. The ironing surface is a Better Board. It is wide enough to iron a width of fabric. It sits flat on the storage unit, creating additional storage. The storage unit is a Martha Stewart storage cube.
Better Board:
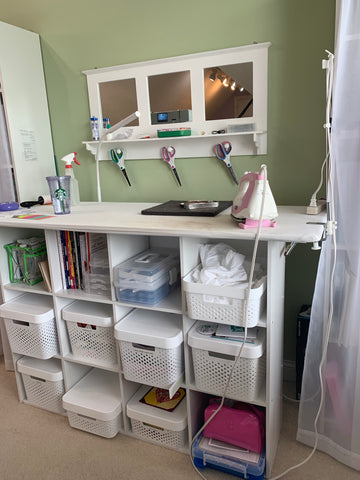
A view from a different angle. Notice the wool pressing mat on the ironing board. It is the bomb for pressing English Paper Piecing projects, really anything with lots of seams coming together.
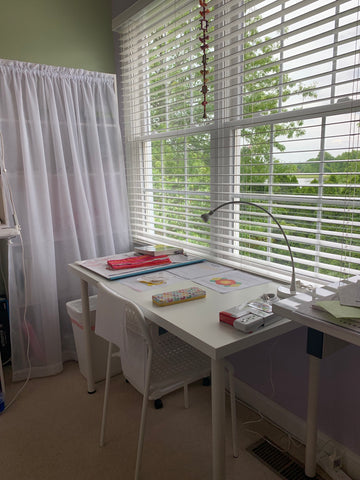
The other side of the ironing board is a table set up to take natural light pictures. Reese (granddaughter) uses it to color. Her supplies are stored near by.
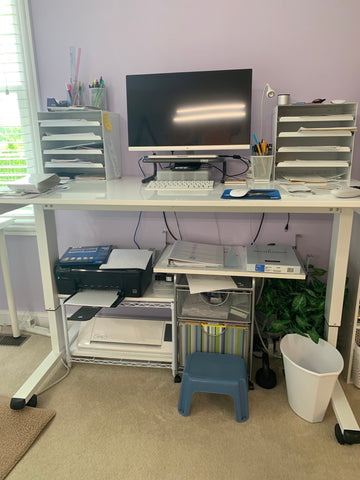
When designing patterns I was spend hours sitting. Health wise it is suppose to be better to stand. I found the Stand Up Desk. It cranks up and down, I can sit or stand. I paid about $350 including delivery, a couple of years ago. I did have to put it together, which was not that hard.

The TV is on a lot. It keeps me company and up to date with current events.
The storage unit is another Martha Stewart cube, like under the ironing center
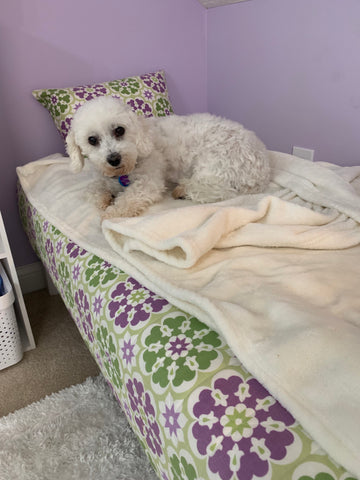
Riley is my constant companion. I quilted the fabric and upholstered her dog bed to match the room. I used to do Interior Design for residential clients. I am all about matching.
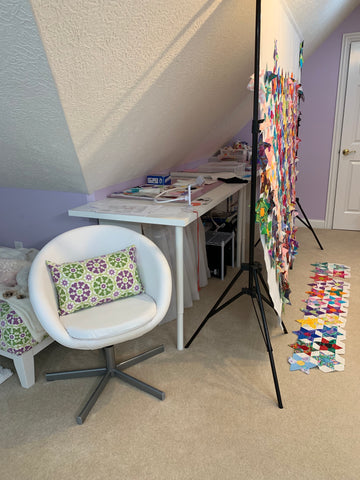
Continuing around the room. The ceilings are angled in this area, so there are limited options. IKEA tables with adjustable height legs provide working surfaces and storage underneath. I have to be careful things don't get piled to high on the tables.
I don't usually have the quilt stand set up. I am working on the English Paper Piecing, Daisy Chain for the 100 Day Project. I have the daisies arranged in order and can not take them down until I stitch them together. The top two rows on the floor are already pieced together.
The shapes were cut from scraps. 95% of the daisies were hand stitched while traveling. I am machine stitching the daises together with the 2" polka dot diamonds. Using English Paper Piecing Made Modern makes it possible to straight stitch by hand or machine.
These are the templates I used to for the Daisy Chain. This links to my website.

This is the other side of the sloped ceiling area. IKEA tables again, storage underneath. Olfa cutting mats, lined up the length of two tables. This is where I measure and cut Sewforever Quilt Storage. There is a measuring tape that sticks to the table top, keeping the mats in place and allowing me to measure out the different size storage bags. Sewforever Quilt Storage is no longer available. Tyvek is a building material that become to expensive to continue making the storage bags.
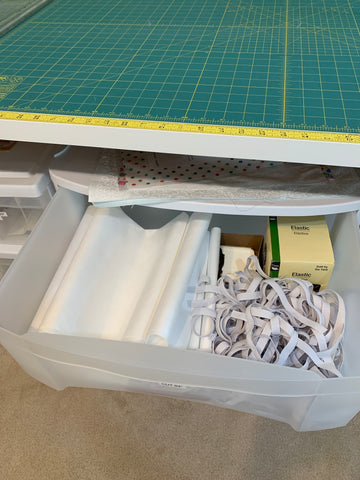
Each Sewforever Quilt Storage size have it's own drawer in order to stay organized and keep supplies clean.
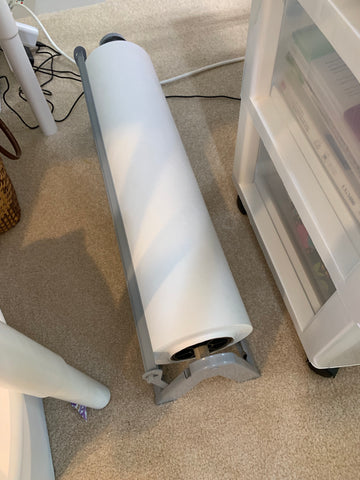
This is the roll of Tyvek that I make the storage bags out of. Tyvek is archival, breathable and water resistant.
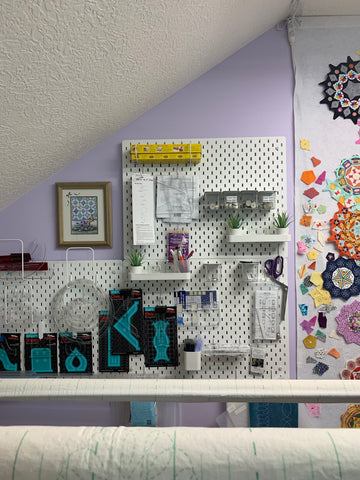
Three more IKEA wall organizers, great for quilting rulers.
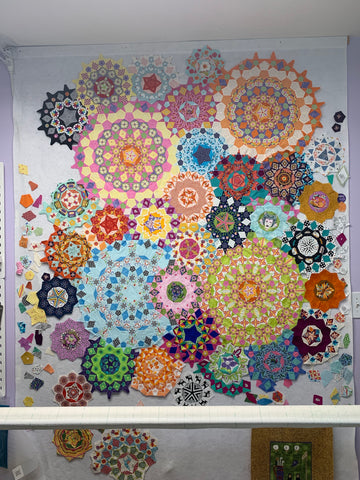
The design wall is simply, 72" Craft Felt. The pole going through the design wall is part of the long arm quilting machine you will see in the next picture.
Determine the height and width you want the design wall.
Make a sleeve at the top and bottom of the craft felt, to fit 1" flat boards.
I nailed the top board to the wall. At the lake house, I hung it up with 3M Command Strips. The board at the top secures it to the wall. The bottom board creates more stability.
Most of the time it is not necessary to pin your work. If fabric sections get big, a pin here or there is enough to hold your project. I am not pinning into the wall, just pinning into the felt.
Inexpensive and easy to fold away, if necessary. The quilt rack you saw in the previous picture, has an extra design wall on it.
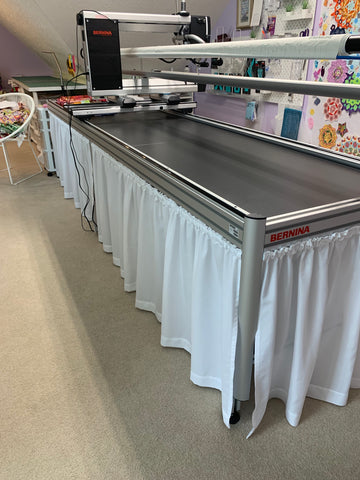
This is a new addition to my studio.
I had a different brand, which I sold to a wonderful couple.
I have only had enough time to do test runs on this new machine.
I make a skirt for the long arm. Remember the sheers, I like a nice coverup.
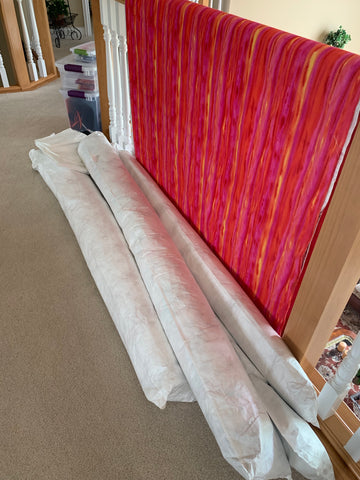
All my quilts are home from their travels. The quilts were at shows or on display at a quilt shop. Thank you, Quilt Beginnings, Dublin, Ohio. I am going to store my quilts under the long arm skirt.
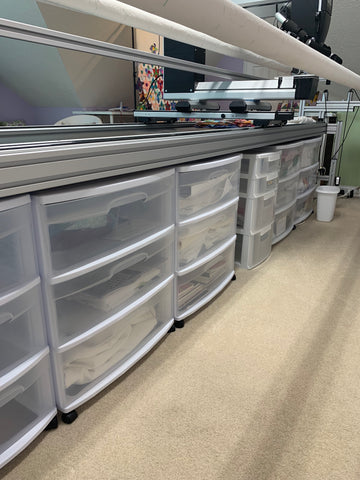
This is the other side of the quilting machine. The backside of this storage is what I covered up with the skirt.
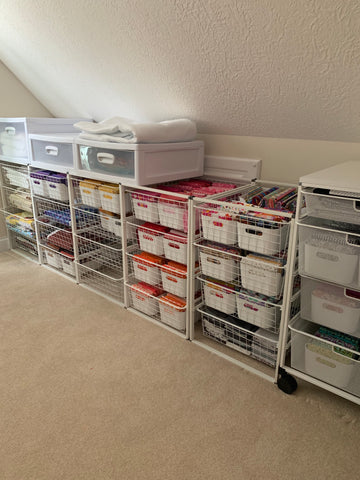
If you have been following my blog, you would have seen this picture before.
This is my 2 week Maria Kondo fabric organization. Refer to previous blog post for the whole story.
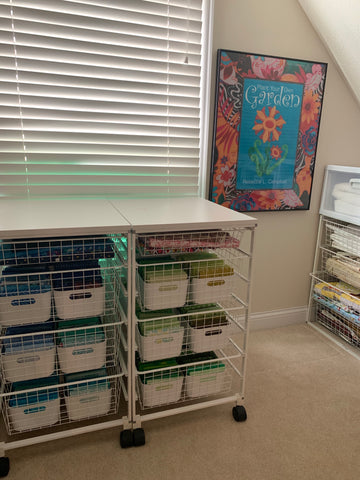
The picture in the background is a poster, American Quilter's Society gave me after they published my first book, Plant Your Own Garden.
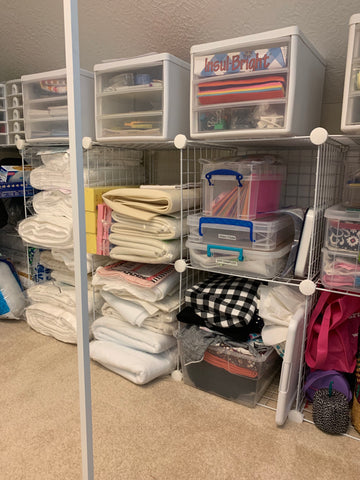
Miscellaneous craft supplies. Organized so I know what I have.
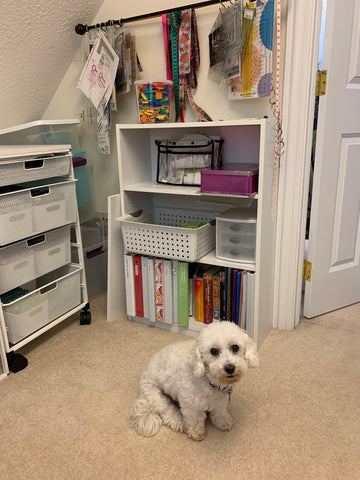
Riley and I want to thank you for taking the tour.
My sewing space (studio) started on a kitchen table, progress to the basement, and worked it's way up to what you see today. Gift yourself a space to create.
Sign up for my blog posts about sewing, creating & quilting.
Thank you,
Becky
